En gl ish – Инструкция по эксплуатации Kastor VK-20 Watertank
Страница 24
EN
gl
ISH
- push sliding cover onto intermediate lid.
- The cover opens and closes by sliding across the intermediate lid.
- push intermediate lid in slanted position onto water tank.
- place the intermediate lid beneath the attachment rods (1) at the corners of
the stove frame, with the opening towards the front.
figure 9. Installation of intermediate lid
INSTALLING THE MANTLE
Make sure about the following details:
- The sealing ring (1) is on the threading of the bent part
- Attachment bolts (2) are open by 5 mm.
- The lever tap (3) is in horizontal position.
- The bent pipe is in horizontal position.
Installation:
- Push mantle package back into its place.
- Guide the bent pipe into the water tank’s hole
(watch the sealing ring!)
- Tighten the the bent pipe’s locking nut from the inside with a
wrench.
- Tighten the front side attachment bolts, but leave a 3 mm gap
to stove.
- Tighten the back side bolts using the stove’s back cover plate
as a guide for the correct attachment positions.
ATTENTION! When you tighten the tap into place, check that the tank remains
as close as possible to the stove mantle’s side!
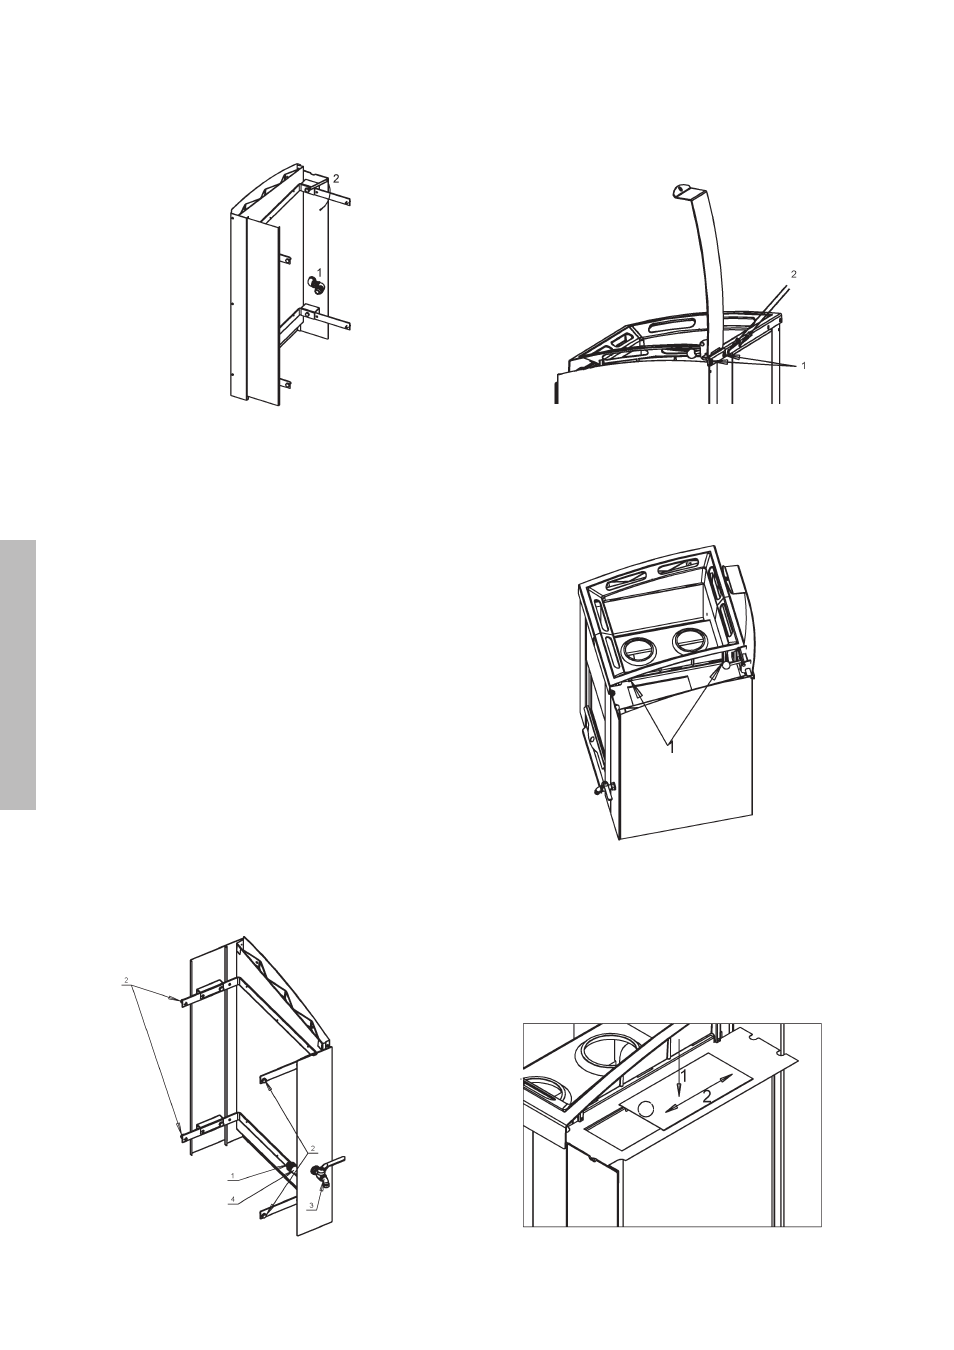
- first, attach the hinge rod to the water tank lid with 2 screws (1).
- Then, push the hinge rod into the holes inside the back part of the stove’s
upper frame (2).
figure 8. Attachment of water tank lid
figure 10. Installation of sliding cover
2.
- Tighten the lever tap by hand into place so that the bent pipe part remains
horizontal.
- Attach front panel with bolts delivered with water tank package (one each
above and below), tighten with hexagonal wrench to upper and lower supports.
figure 6. Installation of water tank front panel
figure 7. Installing the mantle, location of parts