Инструкция по эксплуатации Beko M 6604 CTW
Страница 55
Внимание! Текст в этом документе был распознан автоматически. Для просмотра оригинальной страницы Вы можете воспользоваться режимом "Оригинал".
Oven interior
Before switching on again ensure that all controls are
In the OFF position. Take out all trays and the grill out
of the oven. Clean out the interior with a piece of moist,
soapy cloth. Then, dean it once more with a wet piece
of cloth and let it to dry.
Do not use dry powder agents for cleaning.
Special cleaners that are commercially available may be
used after carefully reading the warning that are written
on the labels.
Warning!
Never clean the inside of the oven and trays with hard
brushes, steel pads or knives.
Special cleaners that are commercially avaible may be
used after carefully reading the warning that are written
on the labels.
* Cataiytic-enameiled modeisfif available);
The oven
interior of this model is coated with catalytic enamel
since the catalytic enamel cleans itsellf, you do not have
to perform an extra cleaning after the cooking operation.
If your oven obtains steel rack;
To clean the steel rack, unscrew
the 4 screws. After cleaning
operation, assemble the steel rack
to the oven body again.
Oven door
Wipe over the door outer panel with
a cloth wrung out in hot soapy water,
then after wiping with a
cloth wrung out in clear water. Do
not use scouring pads or abrasive
powder which may scratch the surface.
Take care during cleaning not to
damage or distort the door seal.
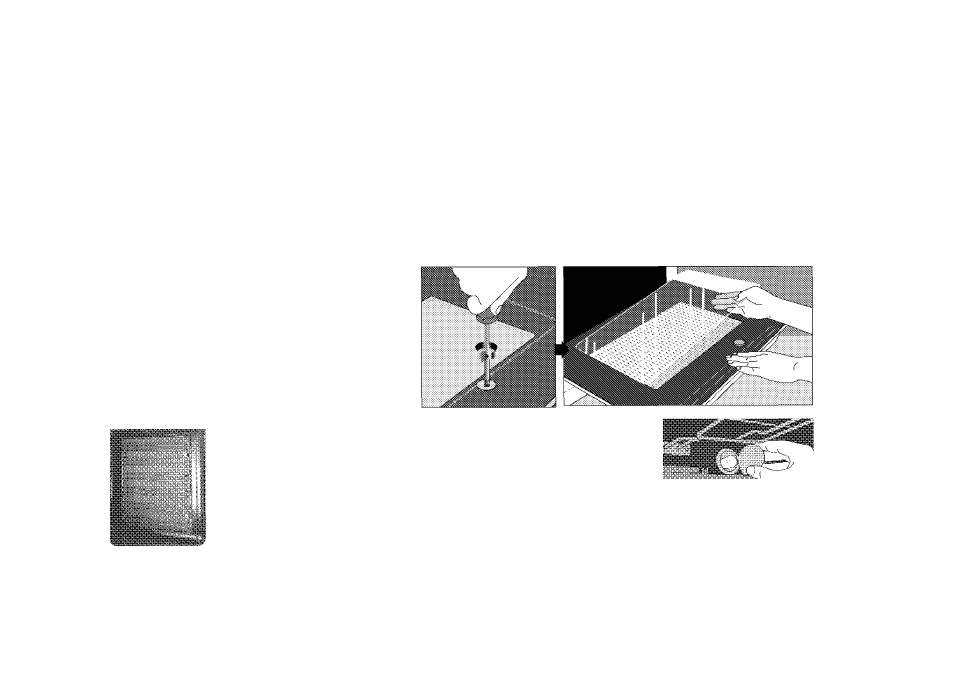
Models with removable inner
glass panels
When you wish to clean the interior
glass of the oven door, use a
screwdriver to remove the top and
bottom washers that connect the
interior glass to the door, take the
glass out, and clean and rinse it off
using a piece of doth moistened with
soapy water. After drying, position
the gasket back into its place and fit
the glass onto the door.
Replacing the oven lamp
(In models with lamp):
1. Unplug the power cable.
2.
Then, remove theprotective glass cover
of the lamp inside your oven by turning it
counterclockwise.
3.
Then, remove the bulb by turning it
counterclockwise.
4.
After installing the correct bulb obtained from an Authorized Service,
reinstall the protective glass of the lamp.
2 4