Source list / edit name, Supported program – Инструкция по эксплуатации Samsung PS42B450B1W
Страница 28
English - 28
Source List / Edit Name
Source List
❑
Use to select TV or other external input sources such as DVD players or Cable Box /
Satellite receivers (Set-Top Box) connected to the TV. Use to select the input source of
your choice.
TV, Ext., AV,
PC, Component, HDMI1, HDMI2/DVI, HDMI3.
You can choose only those external devices that are connected to the TV. In the
N
Source List, connected inputs will be highlighted and sorted to the top. Inputs that
are not connected will be sorted to the bottom.
Using the Colour buttons on the remote with the Source list
N
Red
-
(Refresh): Refreshes the connecting external devices.
T
- TOOLS (Tools): Displays the Edit Name and Information menus.
Press the
O
SOURCE button on the remote control to view an external signal source.
TV mode can be selected by pressing the
TV button, number buttons (0~9), and the
P < / > button on the remote control.
Edit Name
❑
You can name the device connected to the input jacks to make your input source selection easier.
VCR / DVD / Cable STB / Satellite STB / PVR STB / AV Receiver / Game / Camcorder / PC / DVI PC / DVI / TV / IPTV / Blu-ray /
HD DVD / DMA
When a PC with a resolution of PS42B450/PS42B451: 640x480@60Hz, PS50B450/PS50B451: 640x480@60Hz,
N
1280x720@60Hz is connected to the
HDMI IN 2 (DVI) port, you should set the HDMI2 / DVI mode to PC in the Edit Name of
the
Input mode.
Supported Program
Self Diagnosis
❑
Picture Test, Sound Test, Signal Information
If you think you have the Picture, Sound, Signal problem, perform the test. You can check the problem state.
If you hear no sound from the TV’s speakers, before performing the sound test, make sure
N
Speaker Select is set to TV speaker
in the
Sound menu.
The melody will be heard during the test even if
N
Speaker Select is set to External Speaker or the sound is muted by pressing
the MMUTE button.
If the signal strength meter indicates that the signal is weak, physically adjust your antenna to increase the signal strength.
N
Continue to adjust the antenna until you find the best position with the strongest signal.
Software Upgrade
❑
To keep your product up-to-date with new Digital Television features then software upgrades are periodically broadcast as part of
the normal Television signal. It will automatically detect these signals and display the software upgrade banner. You are given the
option to install the upgrade.
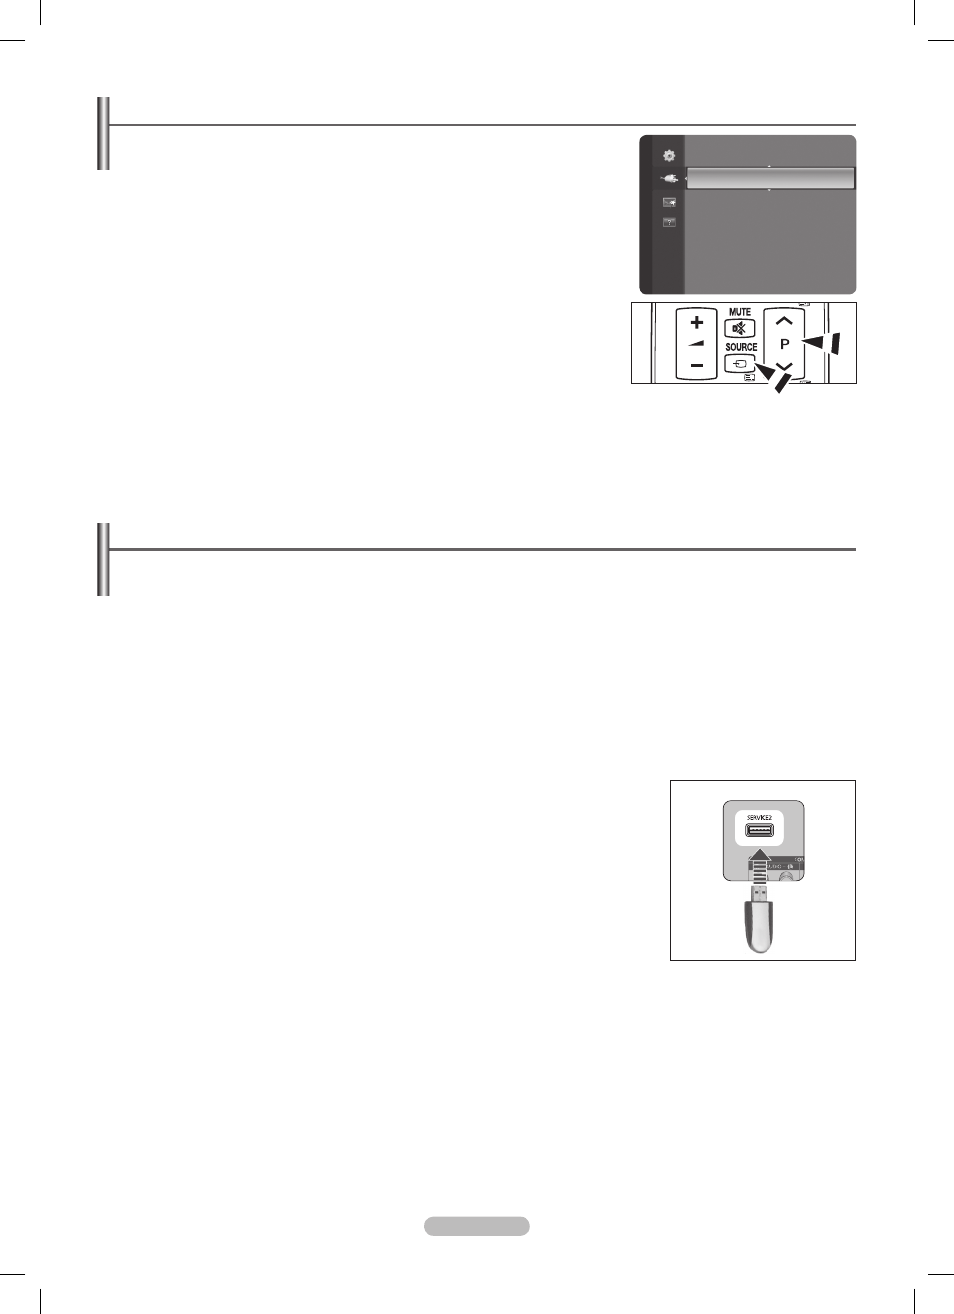
By USB
Insert a USB drive containing the firmware upgrade into TV. Please be careful to not disconnect
the power or remove the USB drive while upgrades are being applied. The TV will turn off and
turn on automatically after completing the firmware upgrade. Please check the firmware version
after the upgrades are complete. When software is upgraded, video and audio settings you
have made will return to their default (factory) settings. We recommend you write down your
settings so that you can easily reset them after the upgrade.
By Channel
Upgrades the software using the broadcasting signal.
Standby Mode Upgrade
To continue software upgrade with master power on, Select On by pressing the ▲ or ▼ button. 45 minutes after entering standby
mode, a manual upgrade is automatically conducted. Since the power of the unit is turned on internally, the screen may be on
slightly for the product. This phenomenon may continue for more than 1 hour until the software upgrade is completed.
Alternative Software
Replace the current software with the alternative.
HD Connection Guide
❑
The brief instruction on
How to get the best performance from your new HDTV is displayed. We offer the connection method for
HD devices.
Contact Samsung
❑
You can know the Samsung Call center, website and information for product.
You can move the previous or next page by pressing the ▲ or
N
▼ button.
Source List
Edit Name
Input
TV Rear Panel
USB Drive
BN68-02354EGH-Eng.indb 28
2009-06-30 �� 10:09:45