Общая информация 92 – Инструкция по эксплуатации Panasonic KX-MB283
Страница 92
14. Общая информация
92
Срок службы тонера
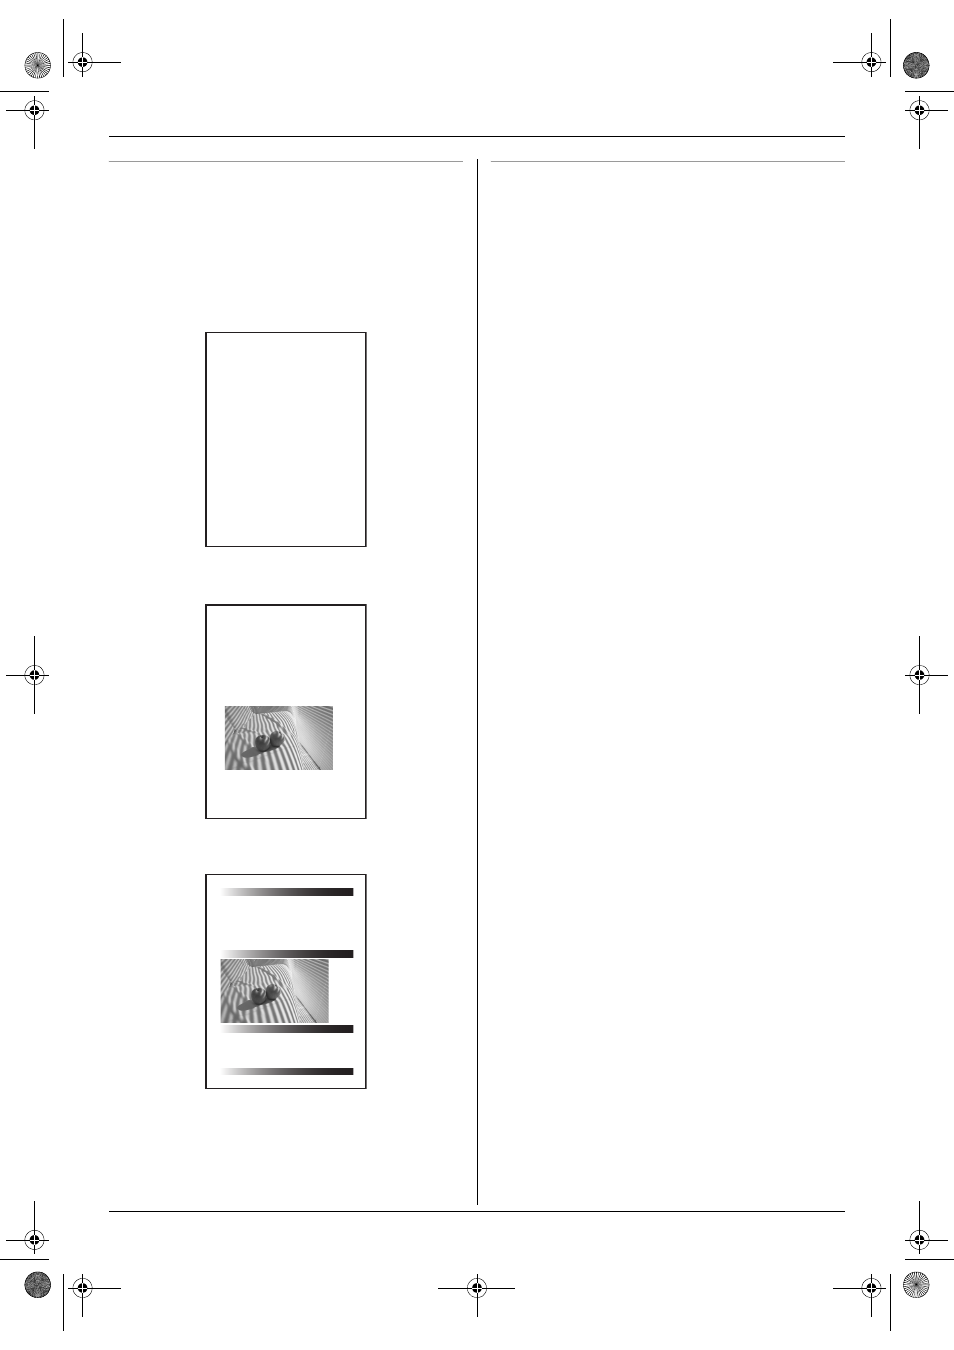
Срок службы тонера зависит от содержания принимаемых,
копируемых или распечатываемых документов. Ниже
приведена примерная зависимость между областью
изображения и сроком службы тонера для замены тонер-
картриджа (модель KX-FAT92A). Срок службы зависит от
реальных условий эксплуатации.
Примечание:
L
Степень заполнения зависит от плотности, толщины и
размера знаков.
L
При включении режима экономии тонера срок службы
тонер-картриджа увеличивается примерно на 40 %.
Срок службы барабана
Модуль барабана относится к расходным материалам и
требует регулярной замены. Фактический срок службы
барабана определяется рядом факторов: температурой,
влажностью, типом бумаги, а также тем, сколько тонера
расходуется для определенного числа страниц в одном
задании печати. Максимальный срок службы барабана
составляет приблиз. 6 000 листов. Фактическое число листов,
которое может напечатать барабан, может быть значительно
меньше расчетного, если аппарат часто используется для
печати заданий, содержащих небольшое число листов.
Поскольку многие факторы, определяющие фактический срок
службы барабана, невозможно предугадать, мы не можем
гарантировать минимальное число листов, которое будет
напечатано барабаном.
Заполнение 5 %
Можно напечатать примерно 2 000 листов формата бумаги A4.
Заполнение 10 %
Можно напечатать примерно 1 000 листов формата бумаги A4.
Заполнение 15 %
Можно напечатать примерно 650 листов формата бумаги A4.
Table of Contents1.
1. Table of Contents 1. Introduction and Installation Accessories
1.1 Included accessories.1.2 Accessory information.Finding the Controls
1.3 Description of buttons.1.4 Overview Installation
1.5 Toner cartridge and drum unit
1.6 Document tray 1.7 Output tray1.8 Recording paper2. Preparation
2.1 Connections 2.2 Turning the power switch ON Help Button2.3 Help function Volume
2.4 Adjusting volume Initial Programming 2.5 Dialing mode 2.6 Date and time.
2.7 Your logo.2.8 Your fax number 3. Copy / Copying3.1 Using the unit as a copy machine.
3.2 Making a copy 3.3 More copying features
4. PC Operations/ Setup 4.1 Connecting to a computer
4.2 Installing Multi-Function Station 4.3 Starting Multi-Function Station Printing
4.4 Using the unit as a printer Scanning 4.5 Using the unit as a scannerRemote Control
4.6 Operating the unit from your computer.
4.7 Fax sending/receiving using Multi-Function Station
4.8 Registering the computer in the LANnetwork with the optional LAN board
4.9 Confirming the status of the unit 5. Case / Setup
5.1 Selecting the way to use your unit 5.2 Case 1: FAX ONLY
5.3 Case 2a: Distinctive Ring (1 phone line with 2 or more phone numbers)
5.4 Case 2b: Distinctive Ring (using withvoice mail service)
5.5 Case 3: EXT. TAM (External Telephone Answering Machine)
Table of Contents2.
1. Table of Contents
1.1 Included accessories.1.2 Accessory information.Finding the Controls
1.3 Description of buttons.1.4 Overview Installation1.5 Toner cartridge and drum unit
1.6 Document tray 1.7 Output tray1.8 Recording paper2. Preparation
2.1 Connections 2.2 Turning the power switch ON Help Button2.3 Help function Volume
2.4 Adjusting volume Initial Programming 2.5 Dialing mode 2.6 Date and time.
2.7 Your logo.2.8 Your fax number 3. Copy / Copying
3.1 Using the unit as a copy machine.
Thank you for purchasing a Panasonic fax machine.
Things you should keep a record of
Attach your sales receipt here.
For your future reference
Date of purchase
Serial number (found on the rear of the unit)
Dealer's name and address
Dealer's telephone number
Table of Contents1.
1. Table of Contents / Introduction and Installation Accessories
1.1 Included accessories.
1.2 Accessory information.Finding the Controls
1.3 Description of buttons.
1.4 Overview Installation
1.5 Toner cartridge and drum unit 1.6 Document tray
1.7 Output tray 1.8 Recording paper
2. Preparation
2.1 Connections
2.2 Turning the power switch ON Help Button
2.3 Help function Volume
2.4 Adjusting volume Initial Programming
2.5 Dialing mode 2.6 Date and time.
2.7 Your logo. 2.8 Your fax number
3. Copy / Copying 3.1 Using the unit as a copy machine.
3.2 Making a copy 3.3 More copying features
4. PC Operations/ Setup 4.1 Connecting to a computer
4.2 Installing Multi-Function Station 4.3 Starting Multi-Function Station Printing
4.4 Using the unit as a printer Scanning 4.5 Using the unit as a scannerRemote Control
4.6 Operating the unit from your computer.
4.7 Fax sending/receiving using Multi-Function Station
Thank you for purchasing a Panasonic fax machine.
Things you should keep a record of
Attach your sales receipt here.
For your future reference
Date of purchase
Serial number (found on the rear of the unit)
Dealer's name and address
Dealer's telephone number
Table of Contents1.
1. Table of Contents / Introduction and Installation Accessories
1.1 Included accessories.
1.2 Accessory information.Finding the Controls
1.3 Description of buttons.
1.4 Overview Installation
1.5 Toner cartridge and drum unit 1.6 Document tray
1.7 Output tray 1.8 Recording paper
2. Preparation
2.1 Connections
2.2 Turning the power switch ON Help Button
2.3 Help function Volume
2.4 Adjusting volume Initial Programming
2.5 Dialing mode 2.6 Date and time.
Thank you for purchasing a Panasonic fax machine.
Things you should keep a record of
Attach your sales receipt here.
For your future reference
Date of purchase
Serial number (found on the rear of the unit)
Dealer's name and address
Dealer's telephone number
MB263-283-763-773-783RU-PFQX2800YA-OI-ru.book Page 92 Monday, February 18, 2008 4:12 PM