Cyborg start, Sensor override/re enable modes – Инструкция по эксплуатации Mongoose Cyborg Start
Страница 35
User’s Guide
CYBORG START
12
2 within 3 seconds of the first pressing. 2 stage unlock is available regardless of the ignition is off
or on.
Panic
Holding button 1 and 2 pressed together for 3 seconds will activate panic mode. The siren will sound and the
indicators will flash until you press button 1 again to turn off panic mode. When the panic mode is activated the
alarm system will keep status (armed or disarmed) it held before.
Silent Arm
Pressing button 5 immediately before button 1 is pressed (within 3 seconds) will arm the alarm
system without beeping the siren unit. All other features including the indicator flashes will
remain the same. Note: If the alarm is giving the driver a warning such as three beeps for door/
hood/trunk open the alarm system will beep the siren even if it is overridden by the remote or the
programming. Fault warnings take priority over silent arming.
Silent Disarm
Pressing button 5 immediately before button 2 is pressed will disarm the alarm system without
beeping the siren unit. All other features including the indicator flashes will remain the same.
Note: If the alarm is giving the driver a warning such four flash warning that the alarm has been
triggered, the alarm system will beep the siren even if it is overridden by the remote or the
software switch. Fault warnings take priority over silent disarming.
NOTE: If you use the Silent Arming/Disarming modes, the LCD transceiver will confirm
the receipt of a response from the alarm system also without audible signals.
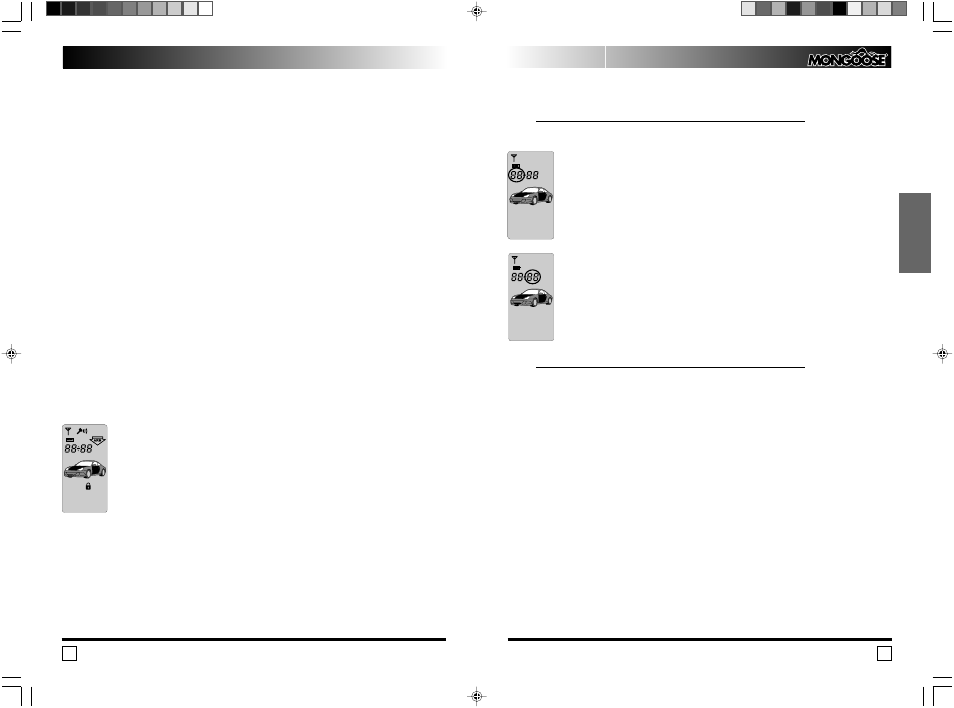
Sensor Override/Re enable Modes
Sensor’s Warning Zone Override Mode
Pressing button 1 at any time in armed stage will cause the pre warn zone of the shock sensor
and optional sensor (if installed) to disable. Two siren beeps and two indicator flashes will confirm
the pre warn zone of the sensor has been disabled.
Sensor Override Mode
Pressing button 1 at any time while armed with pre warn zone of the sensor
overridden will cause the shock sensor and optional sensor (if installed) to completely
disable. Three siren beeps and three indicator flashes will confirm both the pre
warn zone and the main trigger of the sensor has been disabled.
The Shock Sensor Icon on the LCD screen will be solid on during entire period of the
Sensor Override Mode.
Disabled sensor zones will also be re enabled as soon as alarm is triggered.
Sensor Re enable Mode
Pressing button 1 at any time while armed with the sensor completely disabled will cause the
shock sensor and optional sensor (if installed) to re enable. One siren beep and one indicator
flash will confirm both the pre warn zone and the main trigger of the sensor has been reinstated.
The shock sensor icon on the LCD Screen will switch OFF.
Disabled sensor zones will also be re enabled as soon as alarm is triggered.
NOTE: If you use the Silent Arming/Disarming modes, the alarm system will confirm the
sensor override/re enable modes with indicator flashes only but without beeping the siren unit.
Автомобильная охранная система “MONGOOSE” Модель CYBORG START
73
РУССКИЙ
Ежедневные запуски двигателя в заданное время без учета температуры в салоне.
Установка времени ежедневных запусков двигателя:
Для входа в режим установки времени Ежедневного запуска 1 нажмите и удержи
вайте до двойного звукового сигнала кнопку 5. Замигает индикатор часов.
Не позднее чем через 3 секунды после звукового сигнала нажмите кнопку 4.
Последует звуковой сигнал и индикатор часов продолжит мигать. Пульт
управления находится в режиме установки времени Ежедневного запуска 1.
Нажмите кнопку 1 для увеличения или кнопку 2 для уменьшения значе
ния часов.
Закончив установку часов, нажмите кнопку 3 для подтверждения.
Вы услышите звуковой сигнал, и замигает индикатор минут.
Установите требуемое значение минут аналогично установке часов.
Нажмите кнопку 3 для подтверждения установки и передачи установлен
ного времени в центральный блок сигнализации
Вы услышите мелодию, подтверждающую окончание установки времени
Ежедневного запуска 1 на пульте управления. Серия коротких сигналов
сирены подтвердит, что время запуска установлено на часах центрального
блока.
Для входа в режим установки времени Ежедневного запуска 2 нажмите и удержи
вайте до двойного звукового сигнала кнопку 5. Замигает индикатор часов.
Не позднее чем через 3 секунды после звукового сигнала нажмите кнопку 4, а
затем кнопку 5.
Установите время Ежедневного запуска 2 аналогично установке времени Ежед
невного запуска 1 и нажмите кнопку 3 для подтверждения установки и передачи
установленного времени в центральный блок сигнализации.
Вы услышите мелодию, подтверждающую окончание установки времени Ежед
невного запуска 2 двигателя на пульте управления. Серия коротких сигналов
сирены подтвердит, что время запусков установлено на часах центрального бло
ка.
Для включения Ежедневного запуска 1 дважды нажмите кнопку 5 и затем кнопку 1.
Для включения Ежедневного запуска 2 дважды нажмите кнопку 5 и затем кнопку 2.
Ежедневные запуски двигателя в заданное время при условии повышения температуры в
салоне выше установленной.
Для включения Ежедневных запусков в заданное время с учетом температуры в
салоне необходимо с помощью двунаправленного пульта установить время, а так же
выбрать температуру запусков согласно Таблице С, как описано выше.