Инструкция по эксплуатации Vitek VT-1221
Страница 6
Установите регулятор режимов отпаривания (6) в позицию .
Установите подходящую для изделия температуру глаженья с
помощью кнопок “"” или "#" (2).
По достижении выбранной температуры индикатор перестанет мигать
и раздастся звуковой сигнал. Утюг готов к работе.
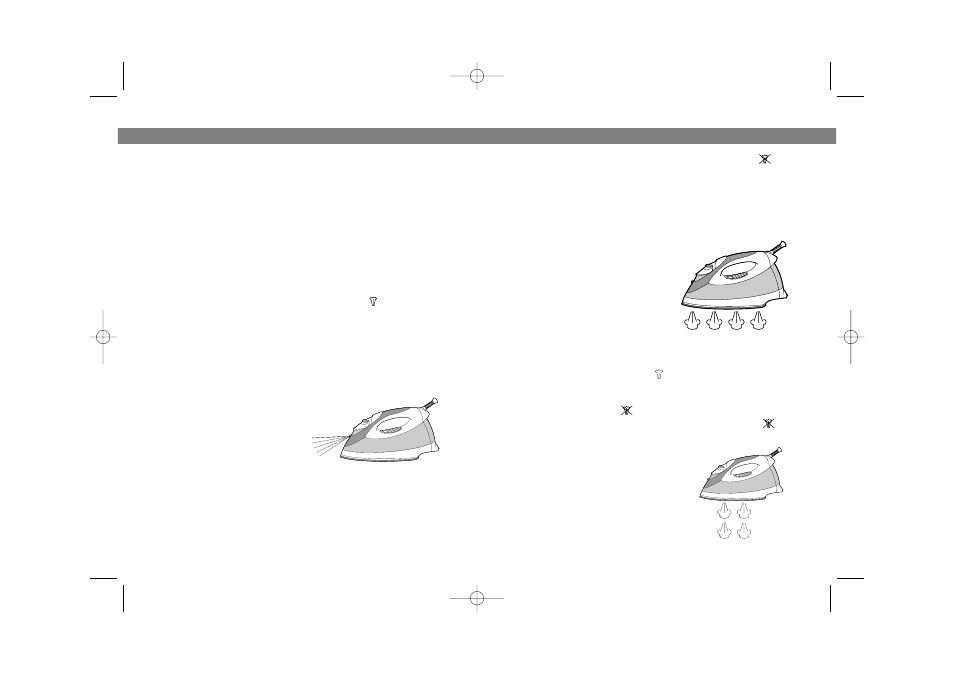
ПАРОВОЕ ГЛАЖЕНИЕ
Включите прибор в сеть.
Установите температуру глаженья
“MAX” или «•••» с помощью кнопок
“"” или "#" (2). Для наилучшего
результата не используйте для
парового глажения режимы “•” и
“••”.
По достижении выбранной
температуры индикатор перестанет
мигать и раздастся звуковой сигнал.
Утюг готов к работе.
Установите регулятор режимов отпаривания (4) в нужную позицию :
для интенсивного отпаривания
для слабого отпаривания в промежуточное положение между
интенсивным отпариванием и глажением без пара
для глаженья без пара
После использования установите регулятор (4) в положение .
КРАТКОВРЕМЕННАЯ ОБРАБОТКА
ПАРОМ
Эта функция используется для разглажи
вания глубоких складок.
Установите температуру глаженья “MAX”
или «•••» с помощью кнопок “"” или "#"
(2). По достижении выбранной температуры
индикатор перестанет мигать и раздастся
звуковой сигнал. Утюг готов к работе.
15
FIRST TIME IRONING
1. Remove any protective films or stickers from the sole plate and the
cabinet if any.
2. Unwind and straighten the power cord.
3. Fill the iron as described in "How to fill water".
4. Connect the iron to a suitable mains supply outlet.
5. The "indicator lights" light and one beep can be heard.
6. "Indicator lights" will flash on LCD.
7. Set the temperature to '•••'(3dot) by control button as described
in "How to set temperature".
8. The "indicator lights" will flash to indicate the iron in heating up.
9. When the required temperature is reached; the "indicator lights"
will be gone and beep twice. The iron is ready for use.
10. Move the Steam Control/Self Cleaning Knob to position; steam
starts coming out from the holes in the sole plate.
11. Begin first time ironing with an old towel.
12. When the water tank is empty and there is no more steam pro
duced; the preparation work is completed. The iron is now ready for
proper use.
SPRAYING
This function can be used any time
and is not affect any setting.
1. Fill the water tank as described
in How To Fill Water.
2. Aim the nozzle to the garment.
3. Press the Spray Button.
Note: It may be necessary to press
the spray button a few times to start
this function.
DRY IRONING
1. Connect the iron to a suitable mains supply outlet.
2. The LCD light up for a second and one beep can be heard.
3. "Indicator lights" will flash on LCD.
6
ENGLISH
РУССКИЙ
1221.qxd 01.12.03 15:42 Page 12